Custom Bot Tutorial for Discord
Are you a person who wants to use a Custom Chat Bot for their Discord Server, but just aren't too sure how? I understand! Custom Bots for Discord is a very different process than it is for other services such as Twitch. Keep reading, and I'll do my best to guide you through the process.
*Please note: You must have a Pro Membership to use Custom Bot features
First thing you wanna do is head over to your Botisimo Settings page, and go to the CHAT BOT tab at the top, and click on LINK DISCORD BOT to get started, like in the example below.

You should then see this window pop up:
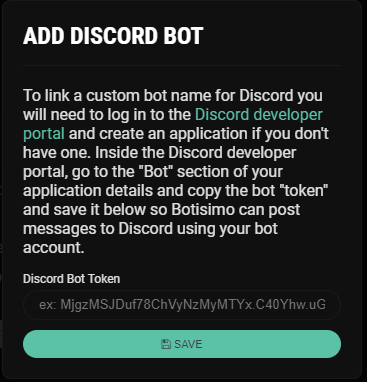
Now click the green text to be taken to the Discord developer portal for the next few steps.
This is what you should be seeing once you go to the Discord developer portal:
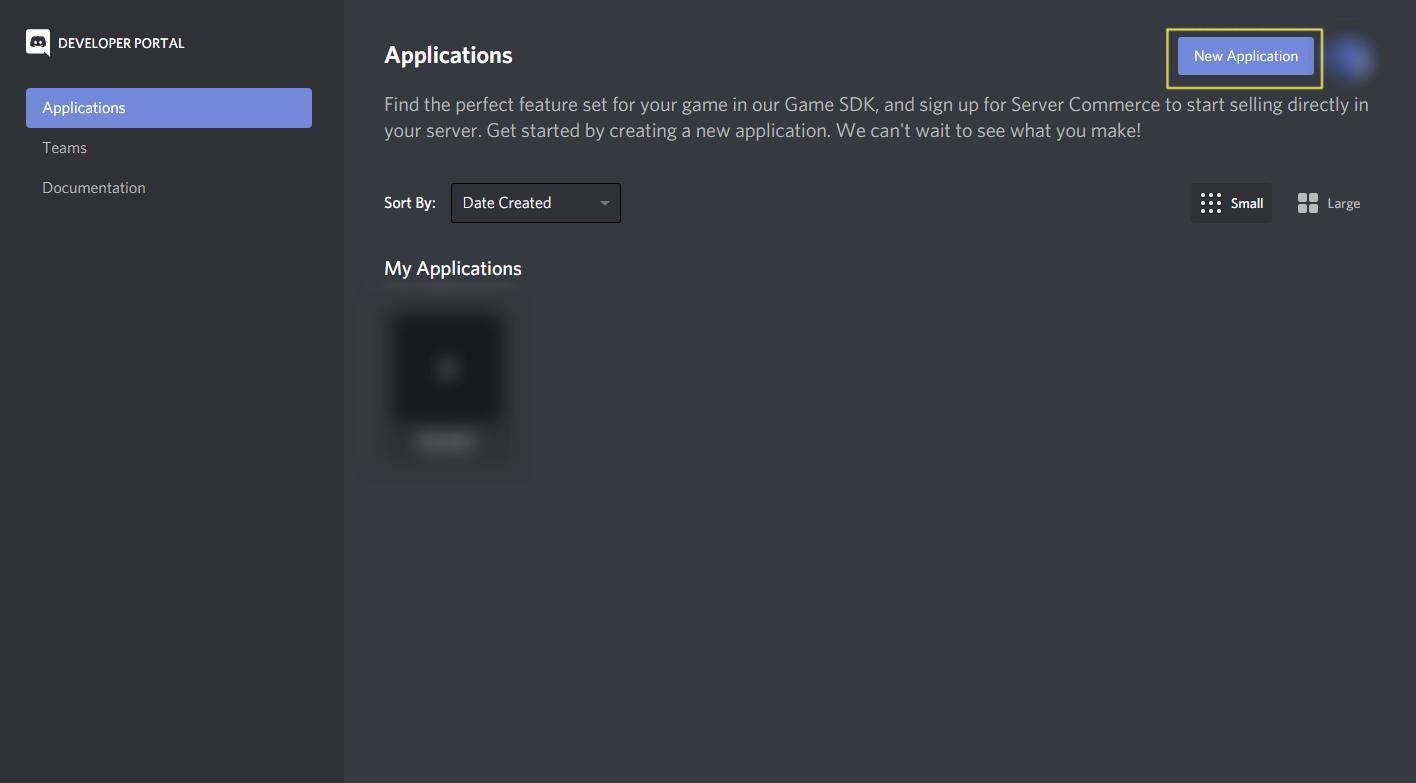
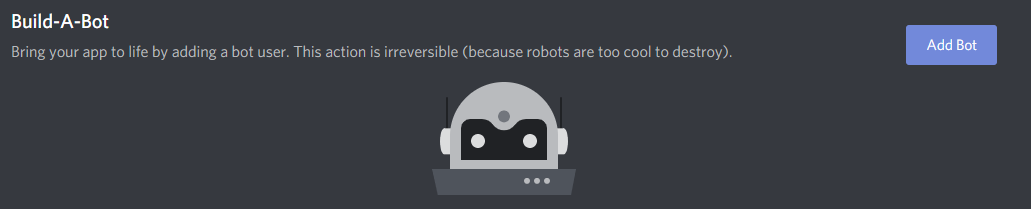
If you don't have one, (let's assume you don't) you have to create an application to make a Custom Bot. Go ahead and click New Application over in the upper-right corner of the screen.
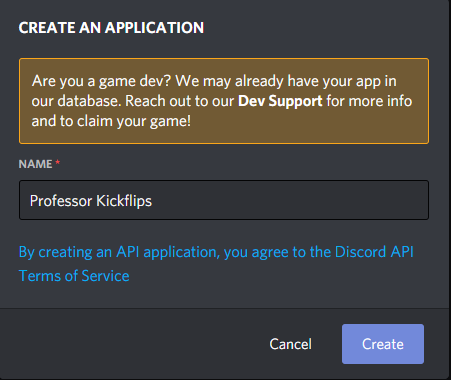
Feel free to name this application whatever you like, for this example we're gonna name it "Professor Kickflips".
Once you've clicked Create, you'll be taken to the General Information section of your new Application's settings.
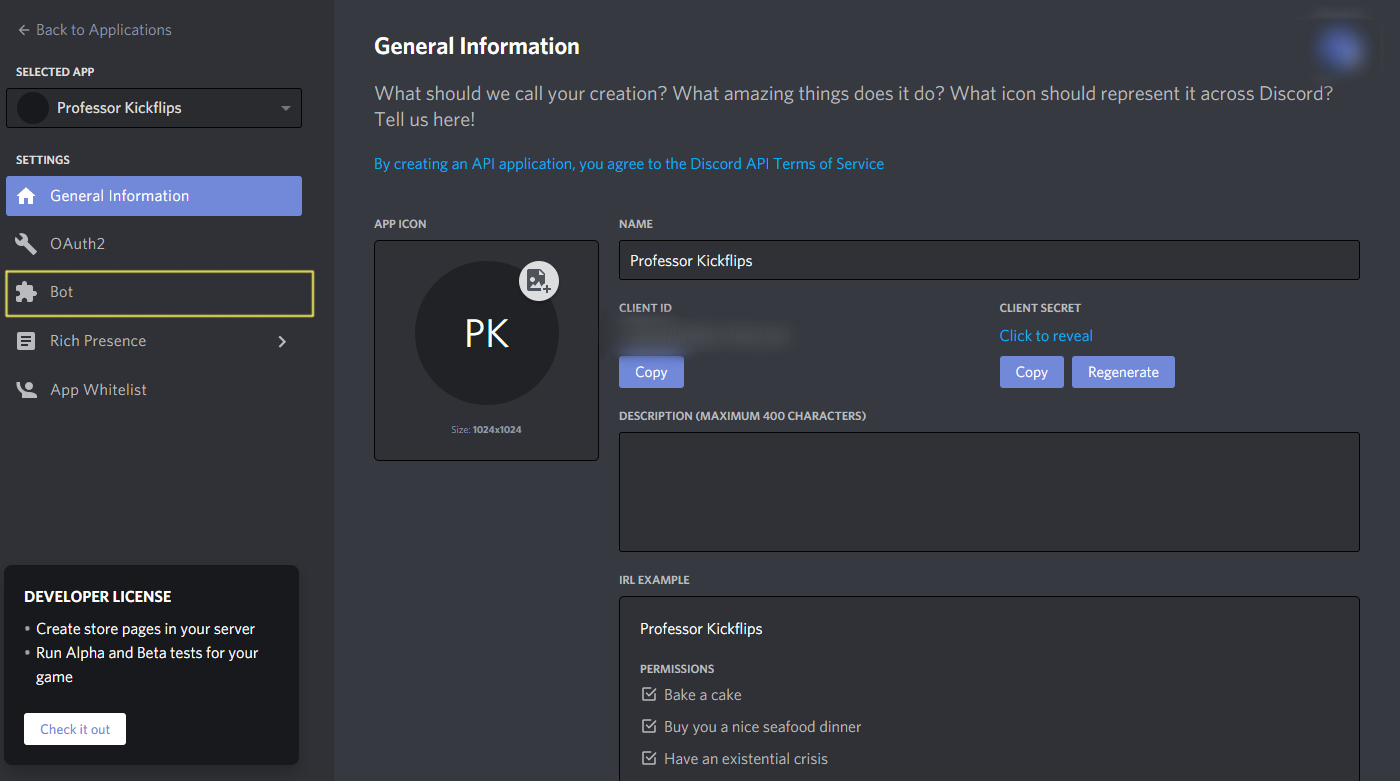
Now we need to make the actual Bot itself. Get started by clicking the Bot tab over on the left, you should see this:
Click Add Bot and confirm that you do, indeed, want to actually add a bot, because this action cannot be undone.
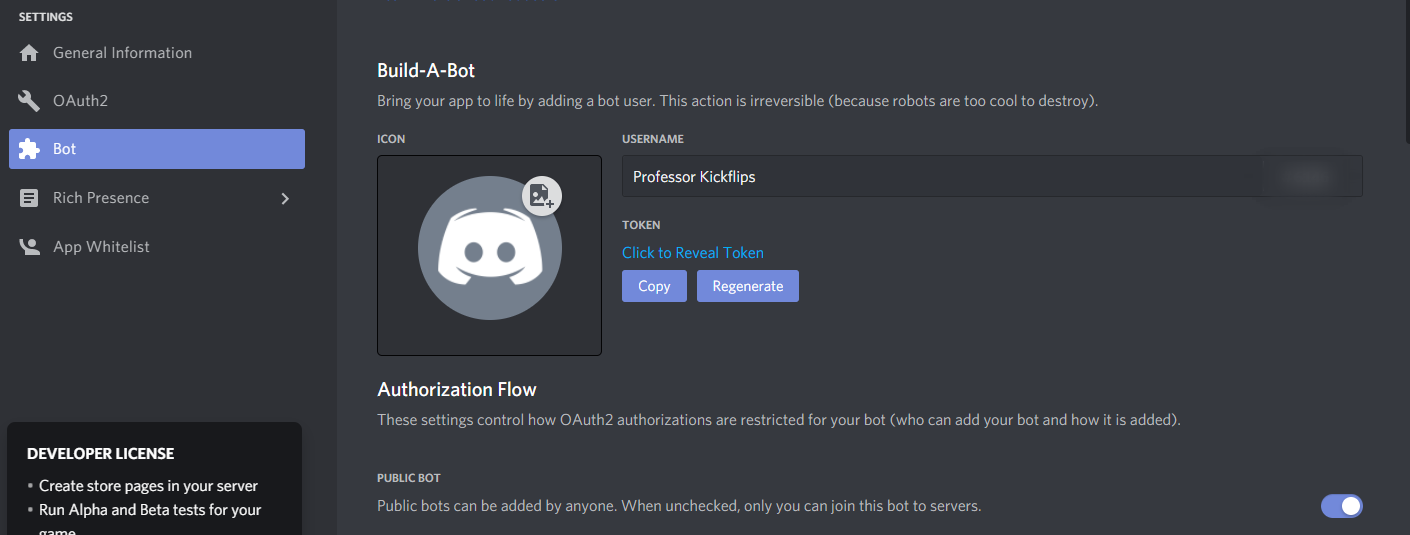
Congrats! You've created a Custom Bot! Go ahead and give it a Username (it's still Professor Kickflips in this example) and an Icon if you'd like. (Don't forget to save your changes!)
Don't rest on your laurels though, there's still more to do. Let's look at that Token section.
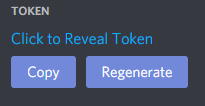
Click Copy to copy your Custom Bot's specific Token onto your Clipboard, and let's go back to Botisimo real quick.

Take that Token you copied earlier and paste it into the text box and hit SAVE. This is so Botisimo can post in your Discord server using your Custom Bot account.
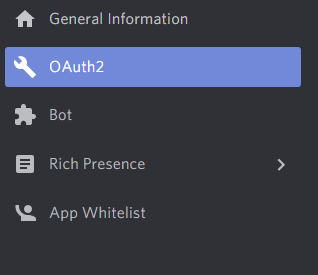
Almost there! Let's head back to the Discord developer, and head over to the OAuth2 section of your Application's settings.
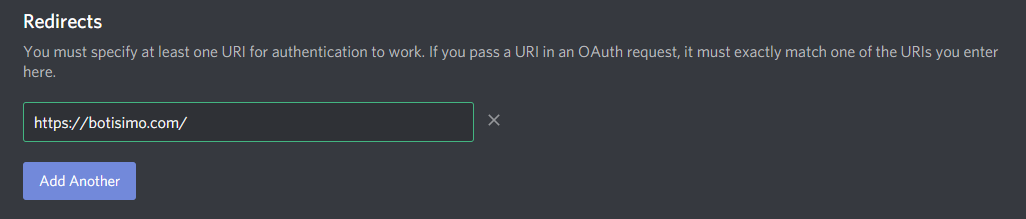
Next step is to add a Redirect URI using a Callback URL.

Go ahead and click Add Redirect and add a Callback URL. For this example, we'll use https://botisimo.com/.
If you look right below this section, you'll see the section labeled OAuth2 URL Generator. Don't worry too much about the specifics of this section, because all we really need from here is that CLIENT ID, which can also be found on your Application's General Information tab. Take that CLIENT ID and copy it.
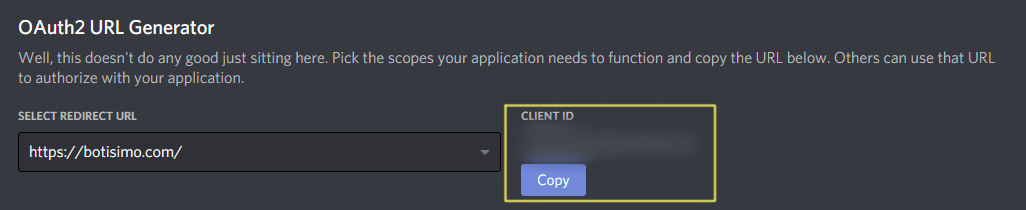
Next, visit this URL to authorize your bot, but replace the {CLIENT_ID} at the end with that CLIENT ID you copied earlier.
https://discord.com/oauth2/authorize?permissions=66321471&response_type=code&scope=bot%20identify%20email&client_id={CLIENT_ID}
And that's it! If you followed all of these steps, then your Custom Bot for Discord should be working. We hope you enjoy exploring what Botisimo is capable of.
As always, if you need help, let us know by sending us an email to support@botisimo.com!
Customer support service by UserEcho