Adding Overlay Elements to OBS
Botisimo has a slew of overlay elements for you to use to help enhance your stream for your viewers.
Not sure how to implement them into your stream? If you use OBS, then this tutorial should help you out.
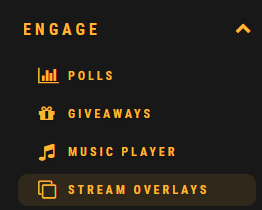
First thing's first, you should know where your Overlays are. On your Botisimo page, they're located under the Engage section, titled "Stream Overlays".
For this example, we'll be putting in the Event List Overlay in an OBS scene, but the steps outlined are generally the same with all the other overlays.
Step 1: From your Stream Overlays page, scroll down until you see the Event List Overlay. It should look something like this:

Do you see that URL? That's what we'll be placing in OBS. Copy the URL by clicking the "COPY URL" button.
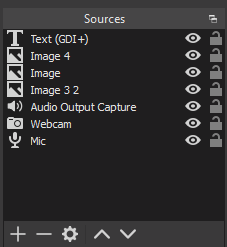
Step 2: Head on over to your OBS, and make sure you're on the Scene that you want to add the overlay to.
Once there, go to your Sources, and click the + button to add a new source.
The source that we're gonna add is called a Browser Source.
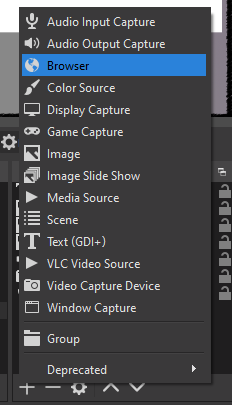
Select the "Create New" option, and create your source.
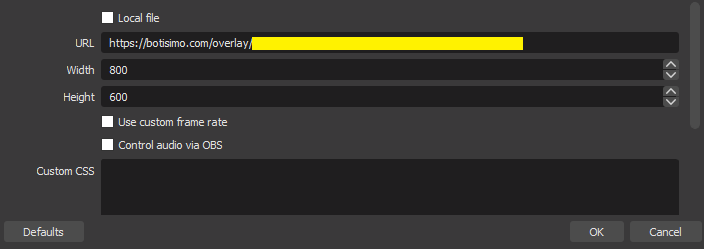
Once your source is created, you should see this window:
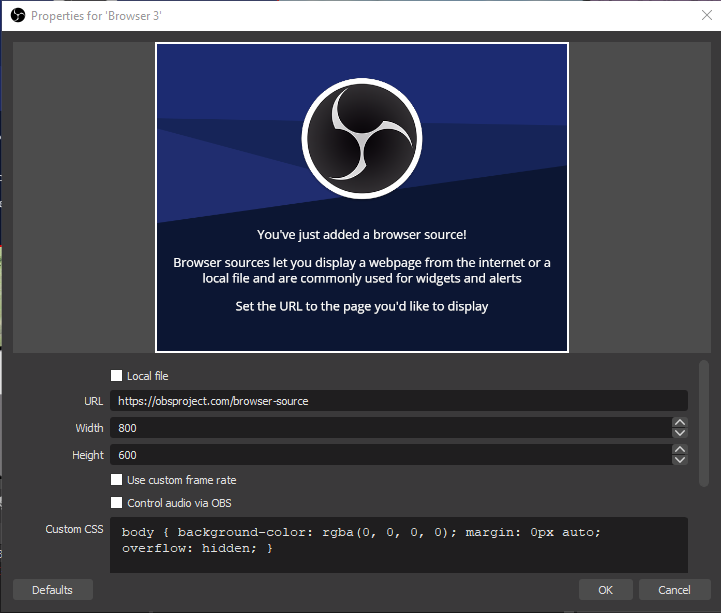
Step 3: Paste your Overlay's URL into the URL field.
Do you remember that URL you copied earlier? That's where that comes in. Delete whatever text is in that text field marked "URL", and paste in the one that you copied.
After that, turn your attention to the text field marked "Custom CSS". Select all of the text in that field, and delete it. If you don't, your Overlay won't display properly.
The window should look something like this:
Step 4: Go ahead and click "OK". Your overlay should now be displayed on your OBS scene.
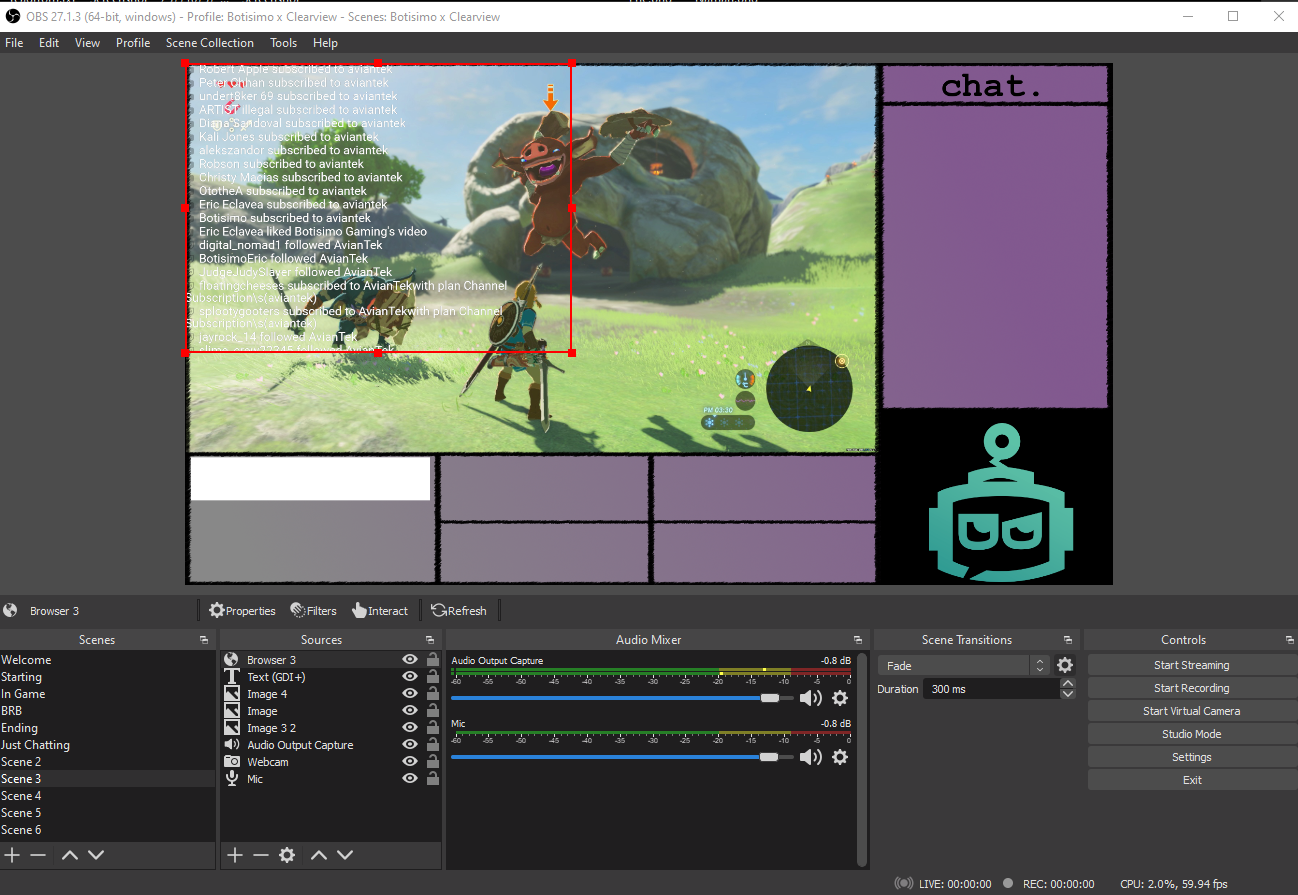
You can use the red squares on the edges of the Overlay to resize it to your liking, and you can also adjust the Height and Width of it within the Browser Source's properties window.
You can customize the Overlay further by heading back to your Stream Overlays page, and clicking the Pencil Icon next to the Overlay that you'd like to customize.

Click it, and you should see this "Edit Styles" menu pop up.
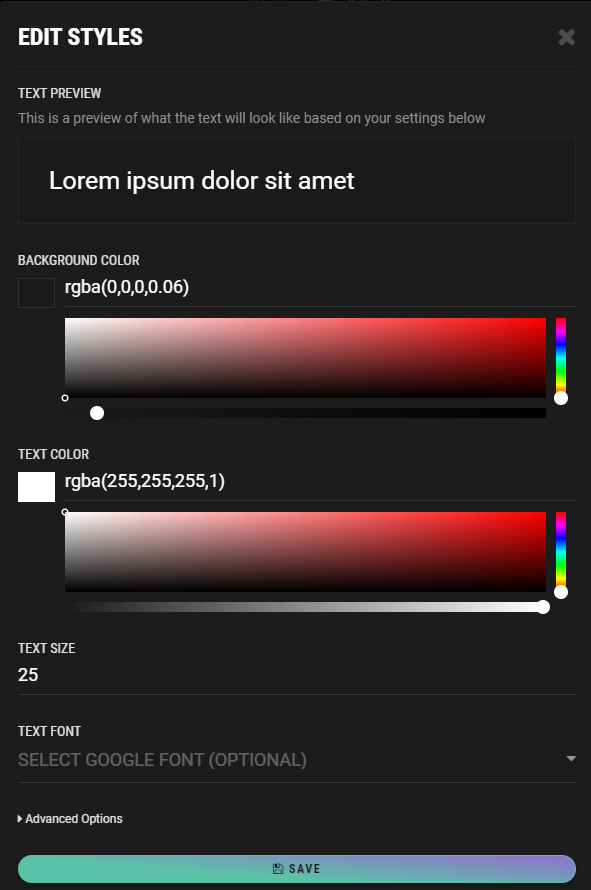
Here, you can change the Background Color, Text Color, their opacities, Text Size, and Font of the Overlay that you're editing.
Once you're done making changes, click "Save" to save those changes.
With a couple of changes, you can fine tune the overlay to appear to your liking.
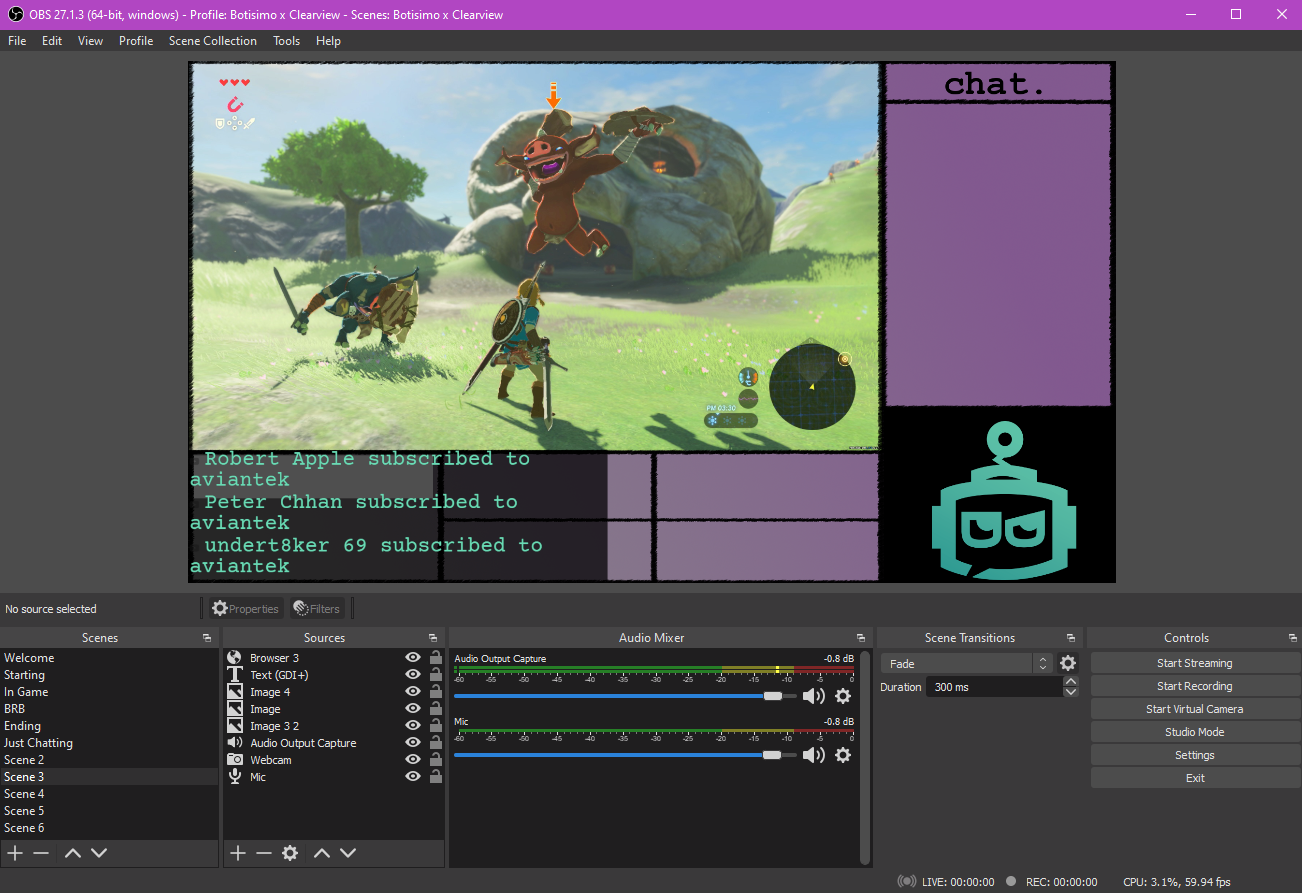
If the changes don't take immediately, give it a few seconds, or open up the Properties window and click this button:

So yeah! That's the long and short of it. To put in other Overlay Elements, the same steps generally apply.
If you have questions, please email us at support@botisimo.com!
Customer support service by UserEcho